Whale Keychain
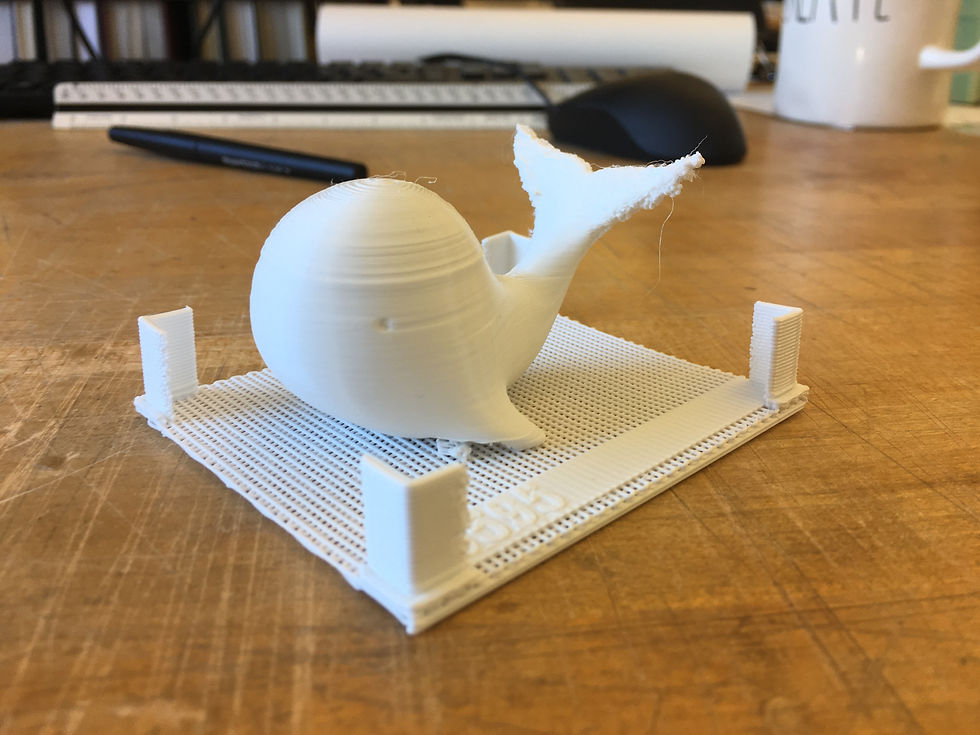
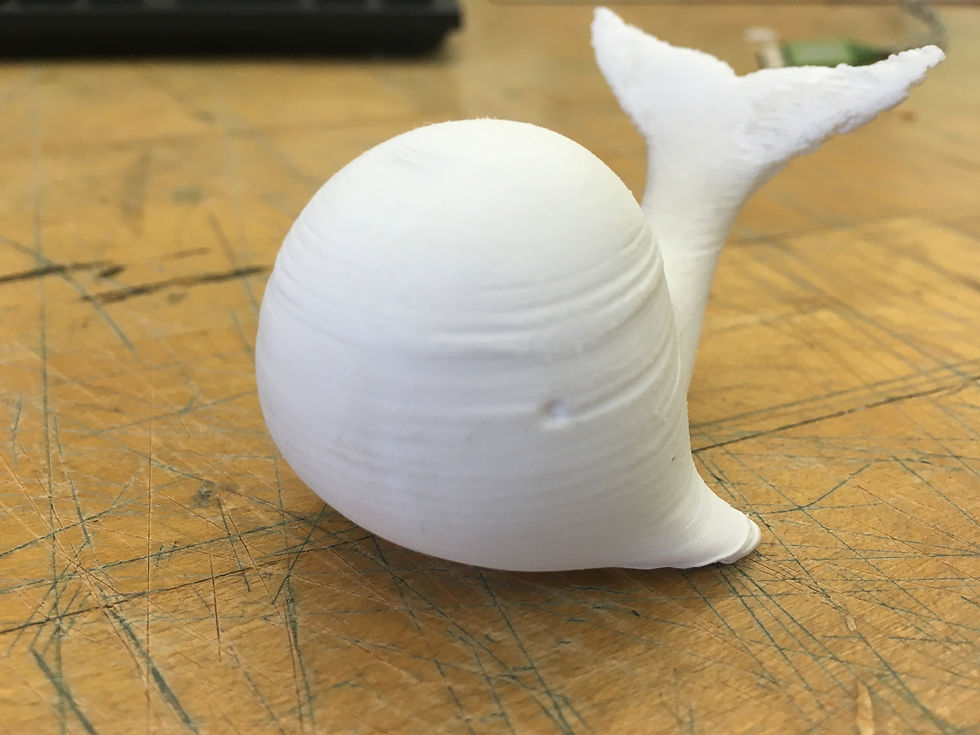
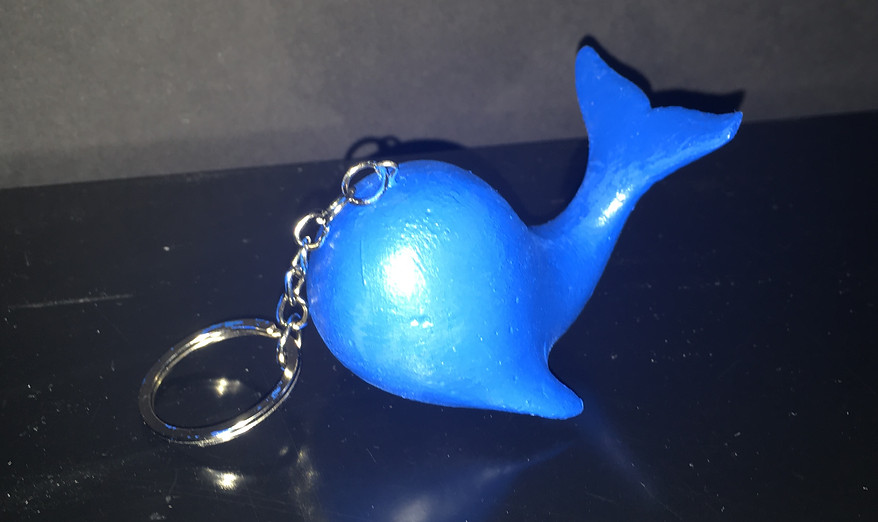
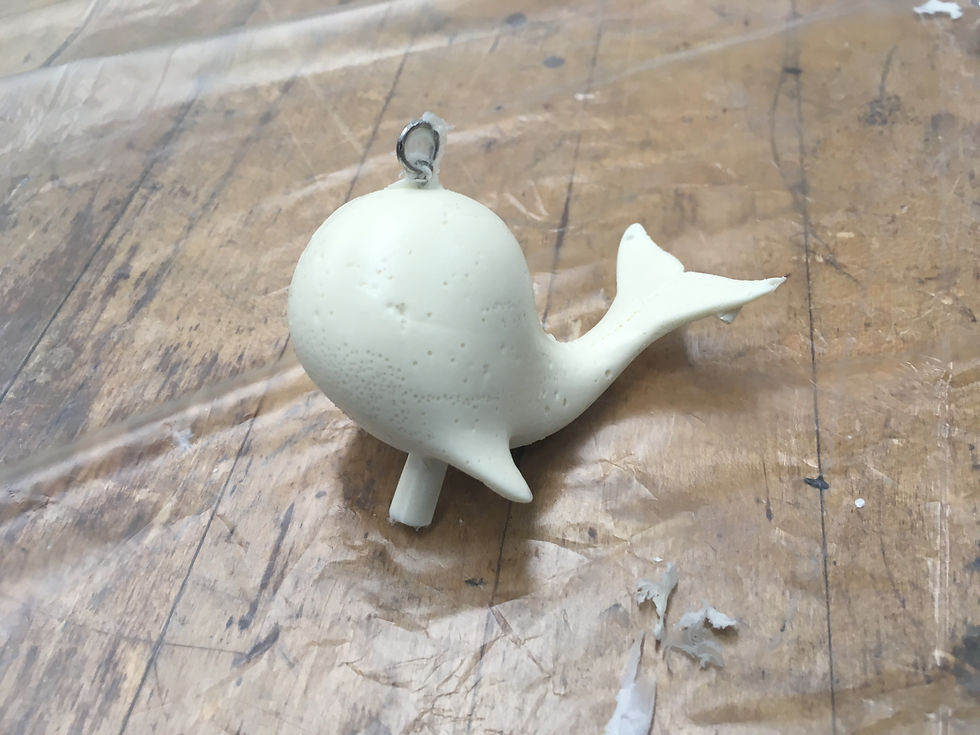
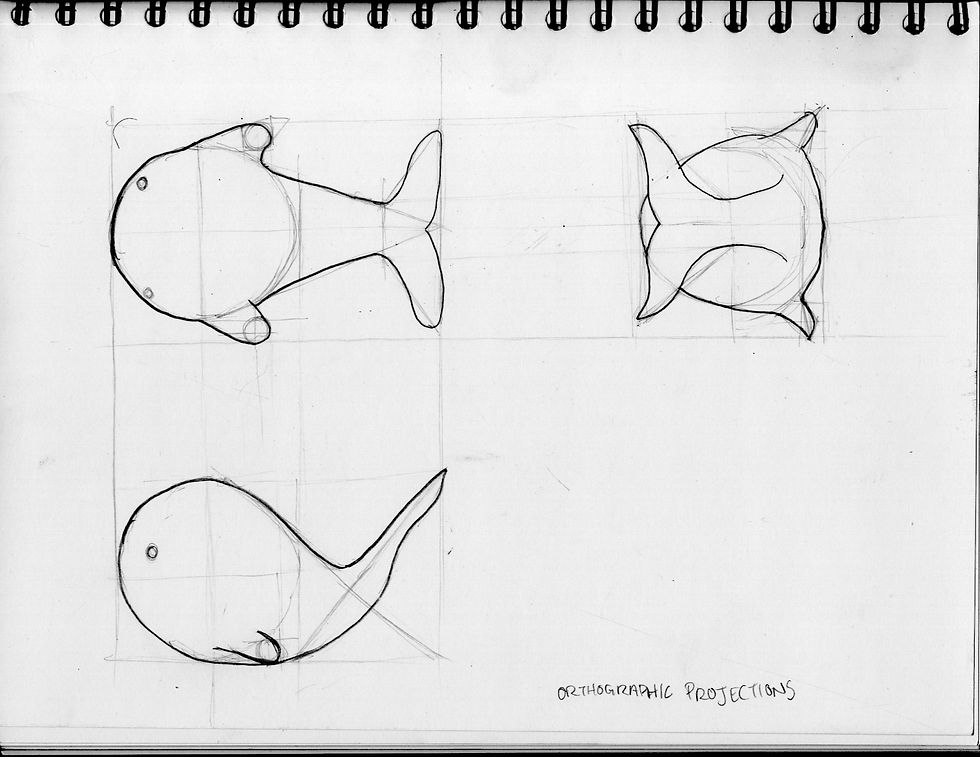
We were given the opportunity to come up with our own design for a small object that could then be manufactured into a keychain using a silicone mold and a resin cast. With a size constraint of 2 cubic inches, I modeled a whale in Rhino after hand drafting orthographic projections to determine the crucial geometry. The model was then 3D printed and sanded down to create a smooth Master for the silicone mold. In Rhino, draft angle analysis was performed to determine the best parting line, which bisected the tail and head of the whale. Clay was packed around the master 3D print up to the parting line on one side. Enough clay was added to have a rough offset of at least half an inch all the way around the mold. After adding in reference marks, mold release was sprayed on the clay and the master, and the silicone was mixed and poured into the foamcore frame. When it cured, the clay was removed from the master and the second half of the silicone mold was then poured, leaving room for a pour hole. The resin was mixed and poured into the mold, and rotated during the pouring process to eliminate large air bubbles at the ends of the fins and tail. Keychain hardware was inserted into the mold to allow the resin to cure around the end of the chain. This resulted in a much cleaner final product than if the cast had been drilled into and then the keychain glued on. After a suitable resin cast was made with the overmolded keychain hardware, the part was sanded down with sandpaper ranging from 140-1000 grit. The part was finished with blue acrylic paint that was handpainted on. In the future, the mold would ideally have been planned out with weepholes that were normal to the parting line plane so that the cast could be removed more cleanly from the mold.
~Fall 2017
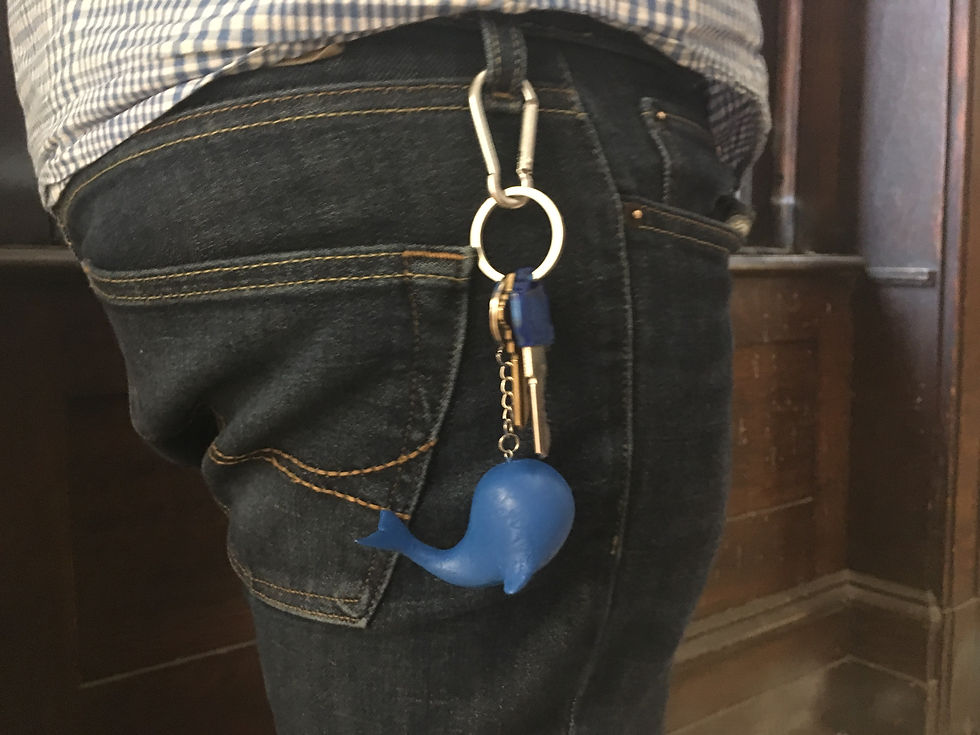
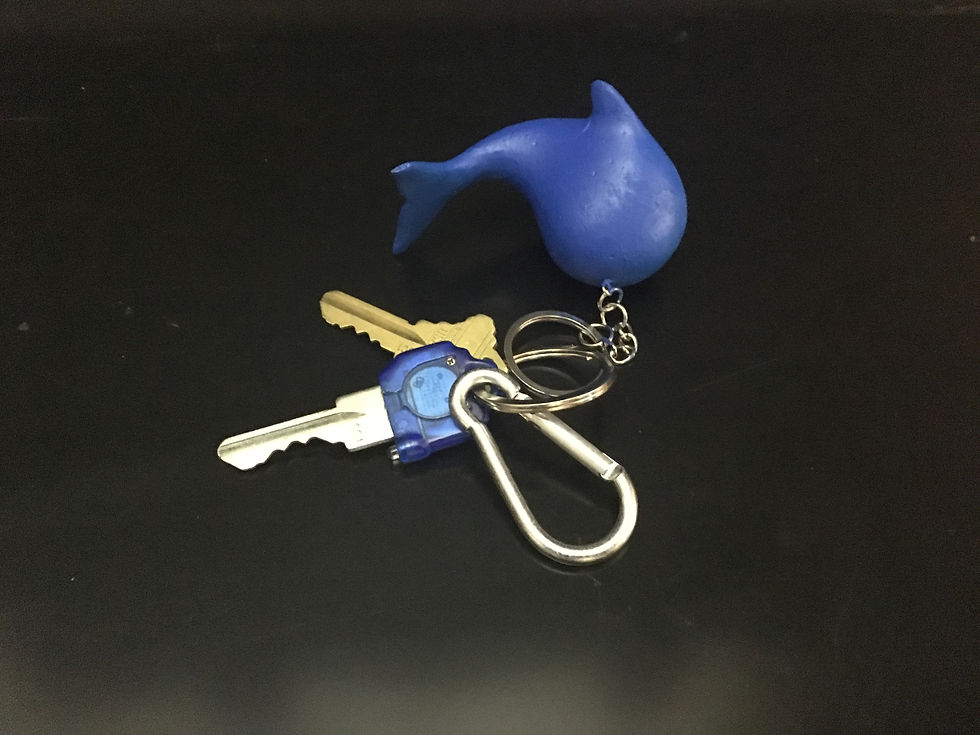


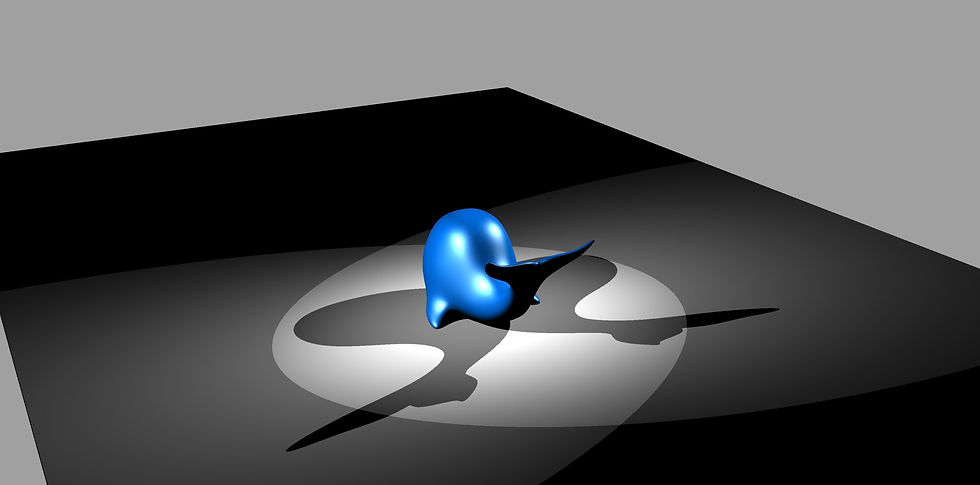


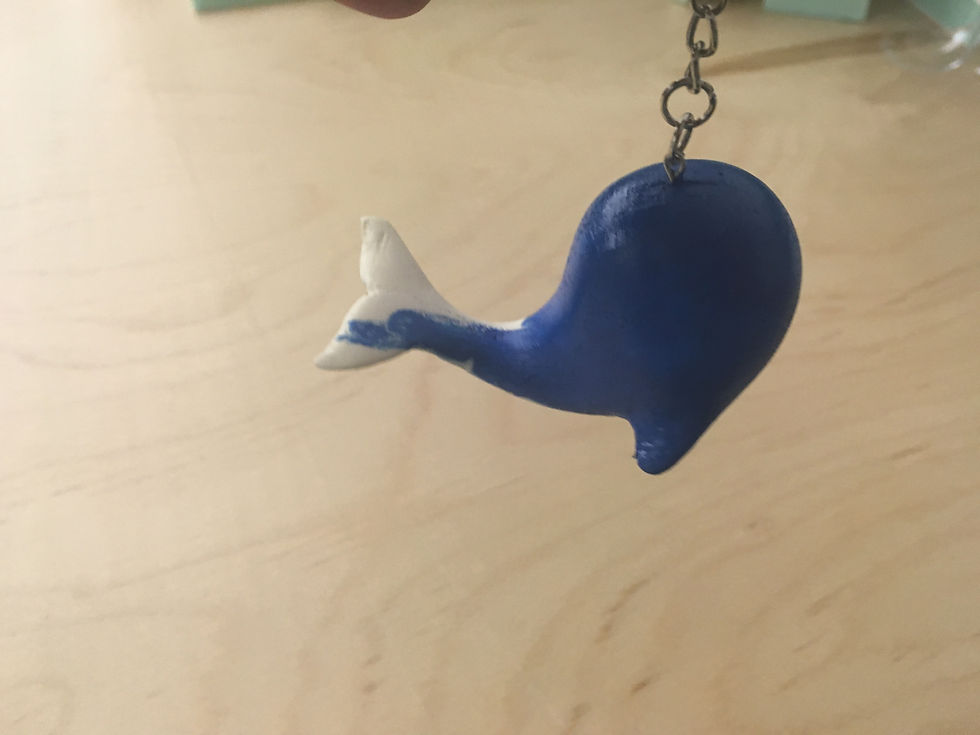
Final Photos (renders + final Product)

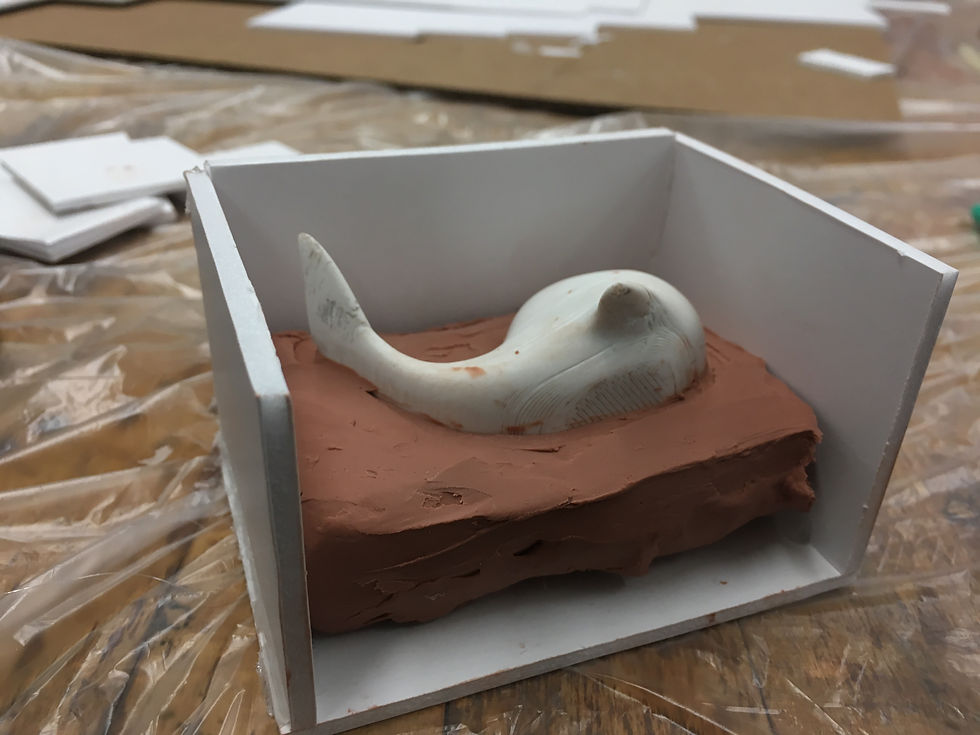


Process Photos (Molding, Casting, and Sanding)
Process Photos (Master Design + Modeling)


parting line + draft angle